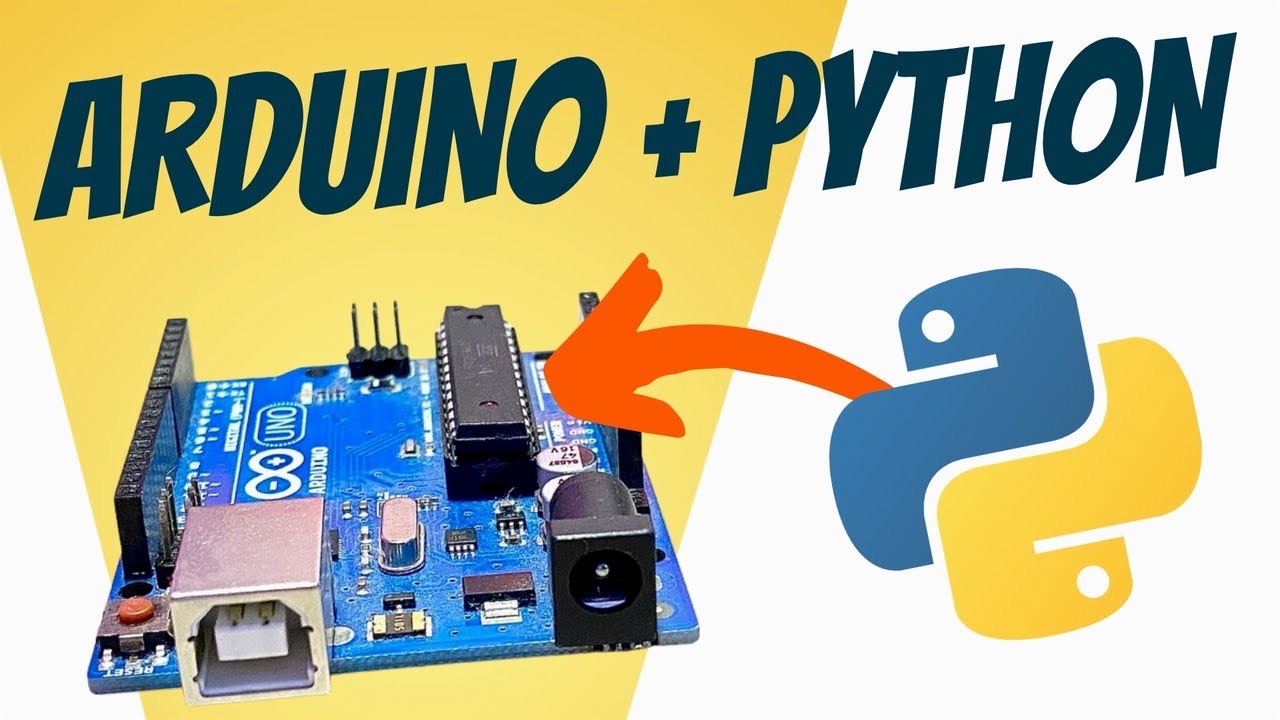
Embarking on a journey through the realms of technology, one often encounters the Arduino, a versatile microcontroller, and Python, a programming language celebrated for its simplicity and power. The fusion of these two realms opens a gateway to endless possibilities. In this guide, we will unravel the intricacies of controlling an Arduino from a computer using Python.
The Heart of the Matter: Arduino and Python
Arduino, a microcontroller-based kit, is an integral part of the modern electronics and DIY landscape. Its appeal lies in its simplicity and flexibility, making it a go-to for hobbyists and professionals in robotics, home automation, and more. Python, known for its clear syntax and robust library ecosystem, complements Arduino beautifully. It allows for sophisticated control and data processing, elevating Arduino’s capabilities.
Understanding Arduino Basics
Arduino is more than just a piece of hardware; it’s a gateway to interactive projects. At its core, an Arduino board is a microcontroller that can be programmed to sense and control objects in the physical world. Its programming is done through the Arduino Integrated Development Environment (IDE), which supports C and C++ languages.
Key Features of Arduino:
- Open-source platform;
- Variety of models (Uno, Mega, Nano, etc.);
- Digital and analog I/O pins;
- USB interface for programming and power;
- Compatibility with various sensors and actuators.
Python: The Programmer’s Friend
Python’s rise in popularity can be attributed to its user-friendly nature. It’s an ideal language for beginners due to its easy-to-read syntax and is equally loved by seasoned developers for its efficiency and versatility.
Python Strengths:
- Extensive libraries for various applications (e.g., NumPy for numerical processing, Matplotlib for plotting);
- Strong community support;
- Platform-independent;
- Ideal for rapid prototyping.
Setting Up Your Environment
Installing Arduino IDE
To begin, you need to install the Arduino IDE, available for free from the Arduino website. It’s a user-friendly environment where you can write, test, and upload your code (sketches) to the Arduino board.
Installation Steps:
- Visit the Arduino website;
- Download the Arduino IDE compatible with your operating system;
- Follow the installation instructions.
Python Installation and Libraries
Python can be downloaded from the Python website. To integrate it with Arduino, you will need specific libraries, particularly PySerial, which facilitates serial communication.
Python Setup:
- Download Python from the official site;
- Install Python on your computer;
- Install PySerial using pip: pip install pyserial
The Bridge Between Two Worlds: Serial Communication
Serial communication is pivotal in linking Python and Arduino. It involves sending data bit by bit over a serial port, which can be either physical (like a USB) or virtual.
Understanding Serial Communication
- Serial communication uses serial ports to transmit data;
- It’s a basic form of communication between computers and microcontrollers.
Implementing Serial in Arduino and Python
In Arduino sketches, the Serial object is used for serial communication. In Python, the pyserial library enables sending and receiving data through serial ports.
Arduino Serial Setup:
void setup() {
  Serial.begin(9600); // Start serial communication at 9600 bits per second
}
Python Serial Setup:
import serial
ser = serial.Serial('COM3', 9600) # Open serial port
Your First Arduino-Python Project
Arduino Setup
- Connect an LED to a digital pin on the Arduino;
- Write an Arduino sketch to listen for serial commands to control the LED.
Example Sketch:
int ledPin = 13; // LED connected to digital pin 13

void setup() {
  pinMode(ledPin, OUTPUT);
  Serial.begin(9600);
}

void loop() {
  if (Serial.available() > 0) {
    int state = Serial.read() - '0'; // Read the incoming byte
    digitalWrite(ledPin, state);
  }
}
Python Scripting
Write a Python script to send commands to the Arduino for LED control.
Python Script Example:
import serial
import time

ser = serial.Serial('COM3', 9600)

def toggle_led(state):
    ser.write(str(state).encode())

toggle_led(1) # Turn LED on
time.sleep(2)
toggle_led(0) # Turn LED off
Expanding the Horizon: Advanced Projects
In the realm of Arduino and Python integration, the possibilities for advanced projects are boundless. One such project is Data Logging, where Python can be employed to gather data from various Arduino sensors. This type of project can be applied in numerous fields, including environmental monitoring and scientific research, by collecting data on temperature, humidity, or light intensity. The information gathered can provide invaluable insights into environmental patterns or be used in automated systems to trigger specific actions based on the data received.
Another exciting area to explore is Remote Control. This concept revolves around using Python scripts to manage and control Arduino-based systems from a distance. The potential applications for this are diverse and impactful. In home automation, for instance, Python can be used to control lighting, heating, or other home appliances remotely. In the field of robotics, it enables the remote operation of robots for various tasks, enhancing their functionality and scope of application. Similarly, remote sensing allows for the monitoring and controlling of sensors and devices in hard-to-reach or hazardous environments, greatly expanding the scope of experimentation and data collection.
Troubleshooting Common Issues
While working on these advanced projects, you might encounter certain challenges that need troubleshooting. With Arduino, some of the common issues include connection problems, where the board might not communicate effectively with the computer. This could be due to software incompatibility or issues within the Arduino Integrated Development Environment (IDE). Additionally, hardware issues such as faulty wiring or defective components can also arise, necessitating a careful examination of the physical setup.
On the Python side, challenges often relate to library dependencies. Ensuring that all necessary Python libraries, such as PySerial for serial communication, are correctly installed and updated is crucial. Syntax errors in Python code are another common hurdle. These can usually be resolved by careful code review and debugging. Communication protocol issues, especially in the context of serial communication, can also occur, requiring a thorough understanding of how data is transmitted and received between Python and Arduino.

Advanced Interactivity: Building a Weather Station
An enthralling project that bridges the gap between beginner and advanced levels is constructing a Weather Station using Arduino and Python. This project involves collecting environmental data like temperature, humidity, wind speed, and rainfall, making it an ideal venture for those interested in climatology, geography, or general environmental monitoring.
Project Components and Setup
- Arduino Board: Acts as the central unit for sensor data collection;
- Sensors: Temperature, humidity, wind speed, and rain gauge sensors;
- Data Aggregation: Arduino collects and processes sensor data;
- Python Scripting: For data analysis and visualization. Python scripts can read the data sent by Arduino and use libraries like Matplotlib or Pandas for data processing and visualization.
Sample Arduino Sketch
#include <DHT.h>

#define DHTPIN 2     // Define the sensor pin
#define DHTTYPE DHT22   // Specify the sensor type
DHT dht(DHTPIN, DHTTYPE);

void setup() {
  Serial.begin(9600);
  dht.begin();
}

void loop() {
  // Reading temperature and humidity
  float humidity = dht.readHumidity();
  float temperature = dht.readTemperature();

  // Check if any reads failed and exit early (to try again).
  if (isnan(humidity) || isnan(temperature)) {
    Serial.println("Failed to read from DHT sensor!");
    return;
  }

  // Print the values to the serial monitor
  Serial.print("Humidity: ");
  Serial.print(humidity);
  Serial.print(" %\t");
  Serial.print("Temperature: ");
  Serial.print(temperature);
  Serial.println(" *C");

  delay(2000); // Delay between measurements
}
Python Data Processing
import serial
import time
import pandas as pd

# Establishing connection with Arduino
ser = serial.Serial('COM3', 9600, timeout=1)
time.sleep(2)

data_list = []

# Data collection loop
for i in range(50):
    try:
        ser_data = ser.readline().decode('utf-8').strip()
        if ser_data:
            humidity, temperature = map(float, ser_data.split())
            data_list.append({'Humidity': humidity, 'Temperature': temperature})
    except ValueError:
        pass

    time.sleep(2)

# Converting to DataFrame for analysis
df = pd.DataFrame(data_list)
print(df.head())
Integrating Image Acquisition with Arduino and Python Using Pypylon
In an advanced and intriguing application of the Arduino-Python combination, we delve into the world of image acquisition and processing. Specifically, we explore how Python’s pypylon library can be used to control the acquisition of images from cameras, in synergy with Arduino’s hardware control capabilities. This integration can lead to fascinating projects like automated image-based monitoring systems, computer vision for robotics, or even simple surveillance systems.
The Role of Pypylon
Pypylon is the official Basler’s pylon Camera Software Suite’s Python API. It offers functionalities to control and acquire images from Basler cameras. When combined with Python’s powerful image processing libraries like OpenCV, it opens up a vast array of possibilities in image processing and analysis.
Project Concept and Setup
Imagine a project where an Arduino-controlled robotic system navigates an environment, and a Basler camera, managed by Python using pypylon, captures images for real-time analysis. This could be used in applications like object tracking, environmental monitoring, or even automated photography.
- Basler Camera Setup: Connect a Basler camera to your computer and ensure it’s recognized by the pylon Viewer Software;
- Arduino Integration: Arduino can be set up to control the movement or positioning of the camera based on the requirements of the project;
- Pypylon for Image Acquisition: Python scripts using pypylon acquire images from the camera. These images can then be processed or analyzed based on the project’s goals.
Sample Python Code Using Pypylon
from pypylon import pylon
import cv2

# Connecting to the Basler camera
camera = pylon.InstantCamera(pylon.TlFactory.GetInstance().CreateFirstDevice())
camera.Open()

# Grabbing a single image
grabResult = camera.GrabOne(5000)
if grabResult.GrabSucceeded():
    # Accessing the image data
    image = grabResult.Array
    cv2.imshow('Basler Image', image)
    cv2.waitKey(0)
else:
    print("Error: ", grabResult.ErrorCode)

camera.Close()
Interfacing with Arduino
The acquired images can trigger specific actions on the Arduino, like adjusting sensors or motors based on the visual data received. This creates a dynamic system where hardware and image data interact seamlessly.
- Example: If the camera, through Python processing, identifies a specific object, it can send a signal to the Arduino to activate a mechanism or change its course.
Conclusion
The collaboration between Arduino and Python is a game-changer in the world of programming and electronics. This powerful combination is versatile enough to cater to both beginners and experts, opening doors to a wide range of creative and technical possibilities. From simple projects like LED control to advanced applications like image processing with pypylon, this duo demonstrates an extraordinary capacity for innovation.
For those embarking on this journey, the path is filled with opportunities for learning and growth. Challenges encountered along the way are not just obstacles but stepping stones towards greater understanding and skill. As you delve into this synergy, you’ll discover that Arduino’s hardware flexibility combined with Python’s programming prowess can bring any idea to life, no matter how complex.
In essence, Arduino and Python together are not just tools, but a canvas for creativity and a platform for technological advancement. With dedication and curiosity, mastering this combination can unlock a universe of possibilities, making it an exciting and rewarding endeavor for anyone passionate about technology.